Pro Stylist Tips for Heat Styling Natural Hair: The Ultimate 2022 Guide

There’s a lot of misconceptions and fear within the natural hair community when it comes to heat styling natural hair. Heat is not inherently bad and honestly it’s needed to achieve certain hair styles.
Our curls are the only accessory that’s front and center in everything we do. As an accessory, it’s our prerogative to dress it up or dress it down as much as we desire. However, there are so many curlies + naturalistas that are deathly afraid of it.
As licensed stylists + tight curl educators, we’d like to put your worries and fears regarding heat at ease. Consider this blog post our “ultimate” guide to heat styling your natural hair.
As a disclaimer, we always strongly recommend that you establish a partnership with a licensed stylist in your area should you have specific questions regarding safely using heat on your natural hair at home.
How to Prep Your Hair for Heat Styling
The following tips are pivotal before applying heat, no matter if you’re stretching (blowing out the hair) or straightening (pressing) your natural hair.
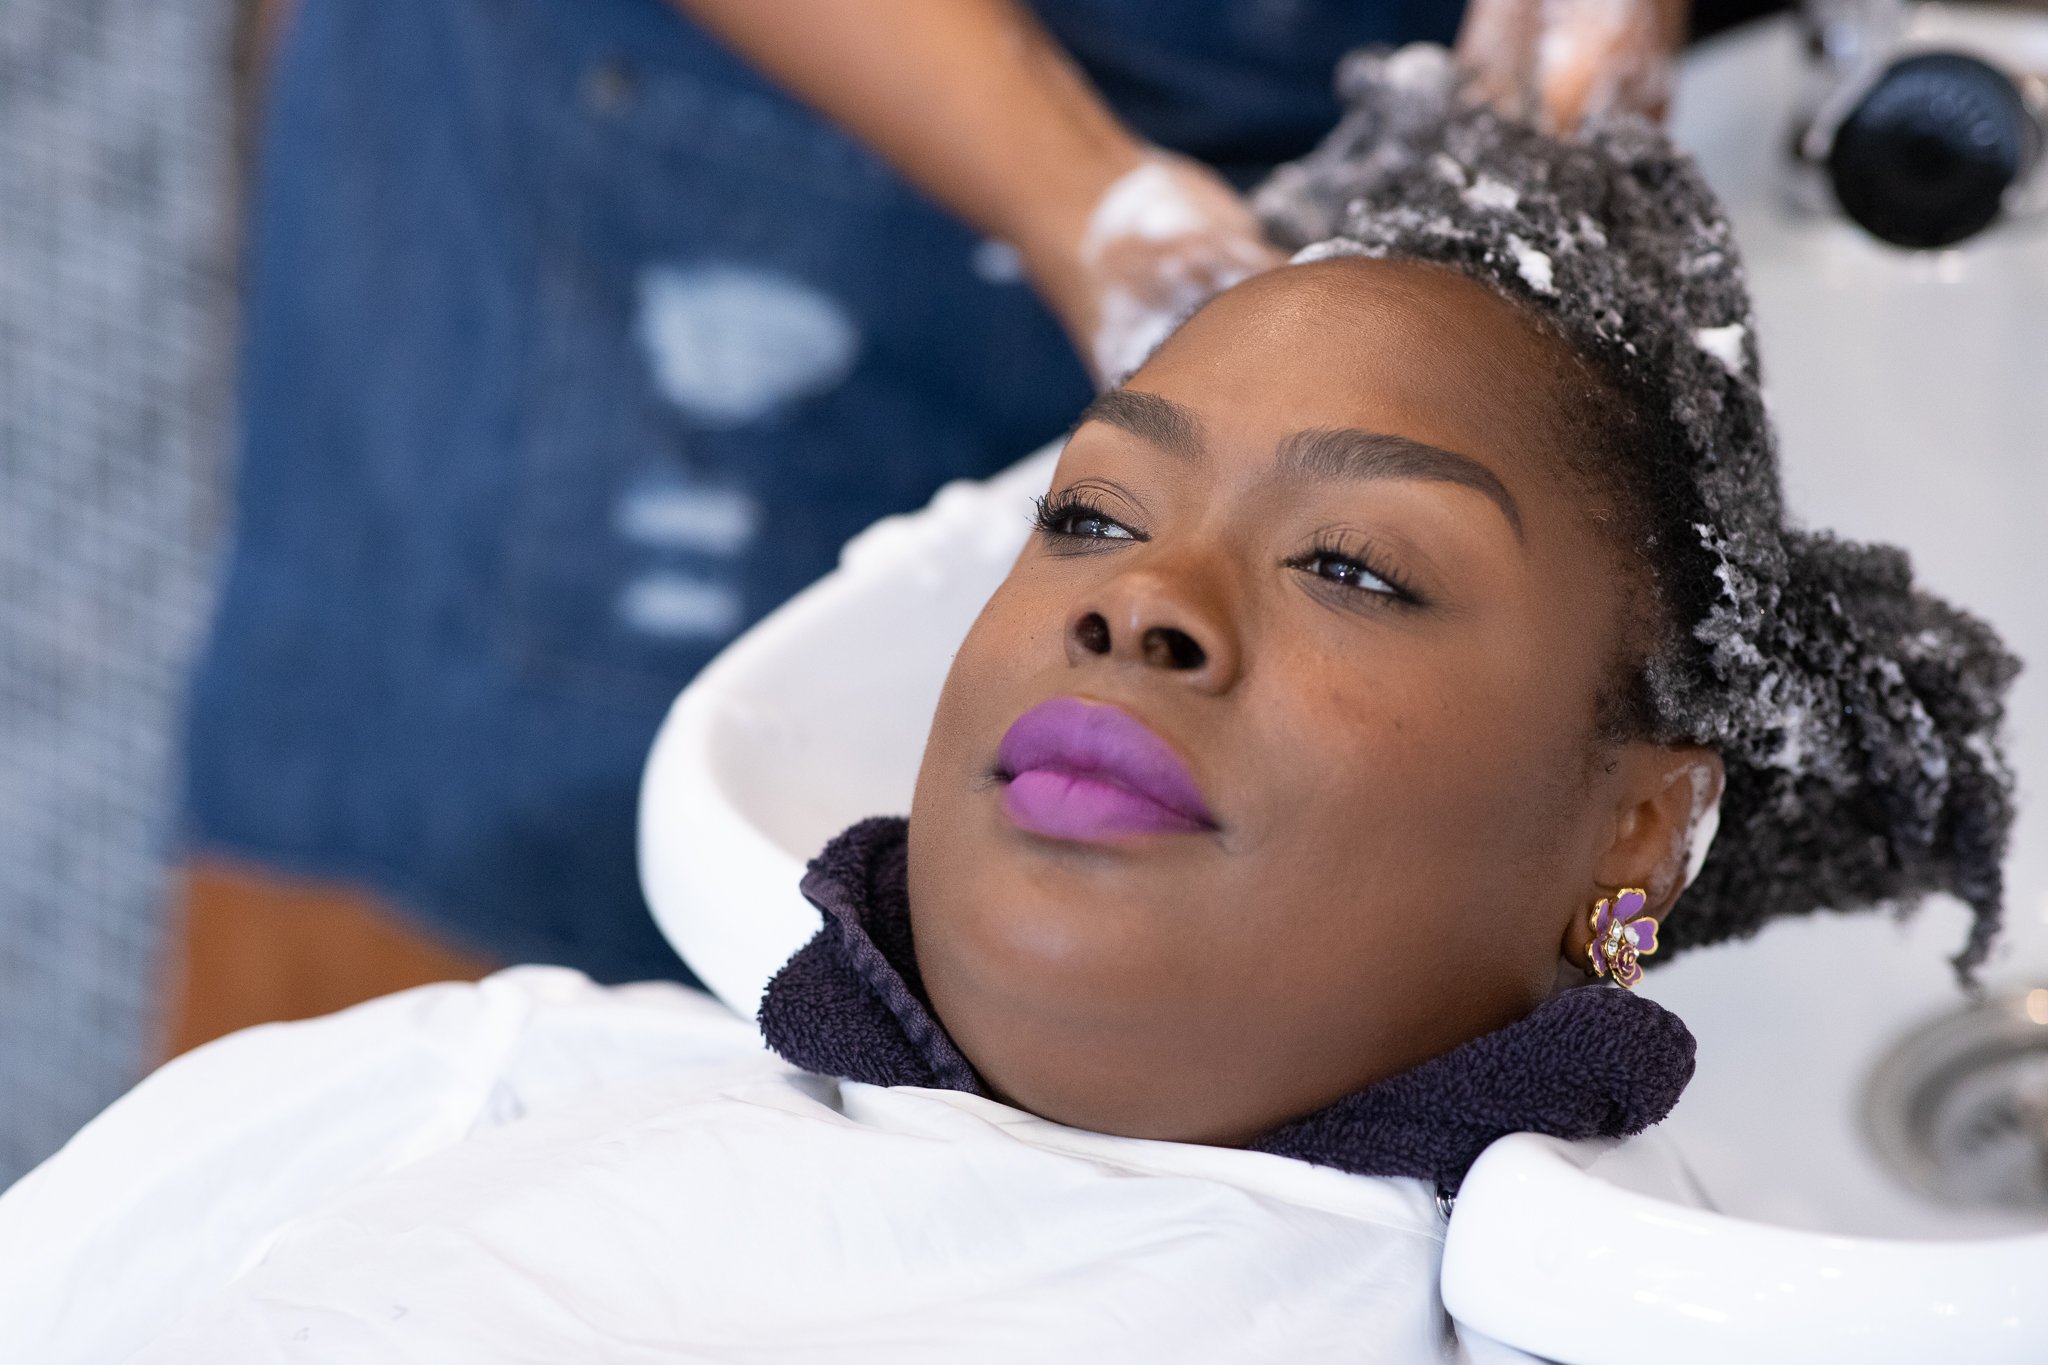
To start, it’s imperative that you cleanse your hair to properly remove environmental debris and product buildup from the scalp and hair. It’s also important to use the appropriate shampoo, given how dirty your hair is. We suggest either using a clarifying or all purpose shampoo.
Clarifying shampoos are designed to remove buildup from product and environmental sources allowing the bare hair strand to be exposed. These types of shampoo are important in all routines but the frequency of usage should be determined by how dirty your hair and scalp is. Clarifying should be done very sparingly as it can be harsh on hair that does not have buildup.
All purpose shampoos are cleansers that cleanse just enough, but not too much. These category of shampoos should be used every 7 to 10 days with an average lifestyle.
After you have cleansed your hair with the appropriate shampoo, then proceed to conditioner. Once your hair is conditioned, thoroughly detangle your hair, then start prepping for your blow out or press.
Heat Styling Hair Prep Steps:
Step 1: Towel dry your hair after you’ve shampooed and conditioned. You want to leave a little bit of water behind, however the hair should be damp and not soaking wet. The water left behind helps to smooth the hair out and helps your products used for prep evenly distribute onto the hair.
Step 2: Apply a heat protectant spray to your hair. Heat protectants help get your hair prepared for the heat source of your choice by using silicone compounds to coat the hair with a water-resistant and heat-protective layer.
Step 3: Please note that this step only applies to those with coarse surface textures. We recommend that coarse surface textures use a blow drying cream to provide smoothness and weight to the hair. For individuals who don’t want their hair weighed down or with fine, silky hair strands can skip this step.
Step 4: Apply a blow drying serum to add sheen/shine to the hair and to help reduce frizz.
“PRO TIP: All these prep products should be added to the hair before a heat source is used. You do not need to apply anything else to the hair, even if you decide to press it out after you blow dry.”
Blow Dry Tools
There are a variety of tools out on the market for blow drying your natural hair. Commonly used tools are as follows:

Traditional Hand Held Dryer with Concentrator Nozzle: This is where you can use a tension brush such as the Denman brush or a Paddle brush to help smooth out the hair. Please note that this option is advanced skill set that requires practice and mastery.
Traditional Hand Held Dryer with Comb Attachment: The comb attachment helps to smooth out the hair and nothing additional is needed with this option.
Blow Drying Brush similar to Amika’s Double Agent Brush: Blow drying brushes are great options if you have a hard time keeping the comb attachment on with a traditional hand held dryer, or if you don’t have the skillset to operate a traditional hand held dryer with a concentrator nozzle.
“I always get annoyed with the comb attachment because it always comes off when I blow dry my hair. I loved Amika’s Double Agent Brush because it allowed me to get my hair more smooth than a comb attachment and I liked how it was a 2 in 1, giving you an option to do a light press with it as well. ”
If you’d like to purchase Amika’s Double Agent Brush, please use the coupon code BLOWOUT10 to save 10% off your order.
Nighttime Care for Blowouts & Presses

If you decide to blow out your hair exclusively, in order to preserve your hair at night, you can braid your hair in large plaits or 3 to 4 large flat twists to help minimize tangles and keep the hair organized.
If you press your hair, you can roll your hair with any kind of roller (soft/hard), wrap your hair, pin curl it, flexi rods—whatever allows you to sleep comfortably at night. You can apply a little serum to your hands, the same serum used for the prep, for extra lubrication for your nighttime routine.
As far as night gear, you can cover your hair with with a buff, bonnet, scarf or use a satin pillowcase.
Want more detailed tips regarding heat styling and nighttime preservation of your hair? We cover all the natural hair care fundamentals and more in our consumer education platform, The SeeSomeCurls Visual Library.
Our 1.1K+ community of tight curl + naturals are shaving more than 50% of time off their wash day, being showered left and right with hair compliments, and are receiving direct support of a very encouraging community of tight curlies + naturals who have been exactly where you are.