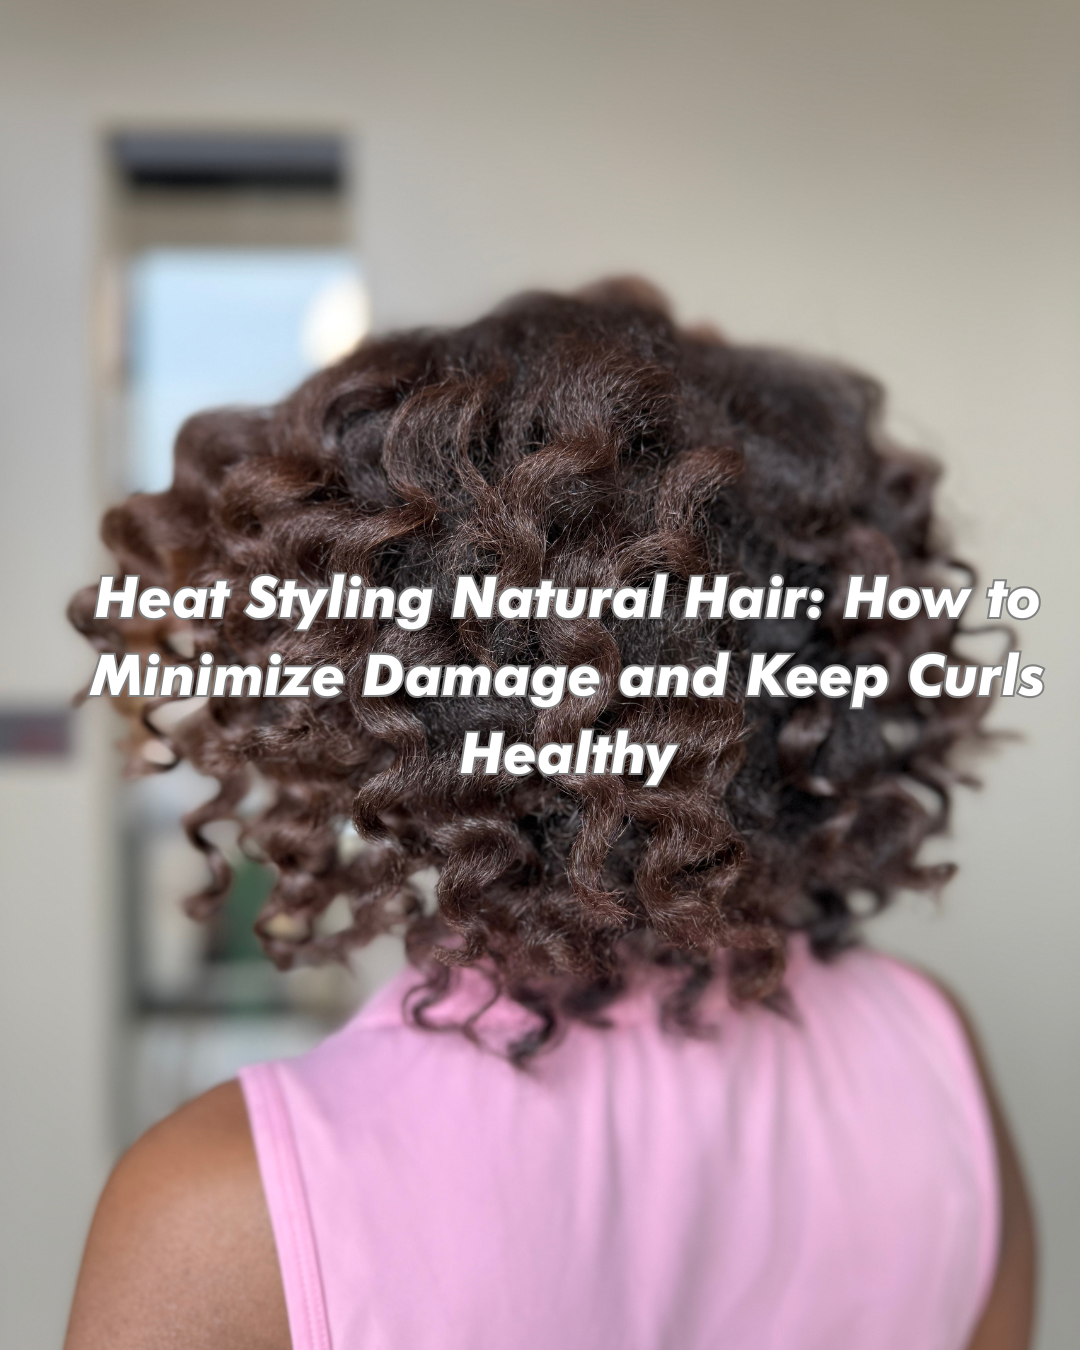
Heat Styling Natural Hair: How to Minimize Damage and Keep Curls Healthy
When it comes to heat styling natural hair…it’s a marathon, not a sprint.
For many curl-conscious naturals, heat styling has become something more and more people are comfortable with. But even with that comfort comes a lingering fear: what if my curls don’t revert after a heat styling session?

If you’re expecting some top-secret, game-changing hack to completely avoid heat damage, I’m going to be completely honest with you: the only guaranteed way to avoid heat damage is to avoid heat altogether.
When it comes to heat, the number one concern naturals have is keeping their curls from being compromised—aka, avoiding heat damage. That’s why so many spend time searching for the “best” heat protectant or the stylist who can promise results that won’t ruin their curls or reverting within 24 hours.
The truth is there are no absolute guarantees. Any one instance with heat can put you in the position where your curls may not fully revert. But here’s the good news: you can take steps to minimize your risk and set yourself up for the best possible results this season.
And it all starts with one word: hydration

Let’s Talk About Hydration
Before we dive into how to prepare for heat styling, we have to pause and talk about hydration—because it’s the foundation of everything.
When I say “hydration,” I’m talking about the current level of moisture inside your hair strand.
Hydration is not a feeling—it’s a behavior. It shifts and changes just like your body’s hydration levels. The water you drank at 10 AM doesn’t keep you quenched at 2 PM. The same way, the water that entered your hair during your Sunday cleansing session will begin evaporating within 4–7 days.
Why Hydration Varies
Hydration isn’t static—it’s influenced by many factors:
Time: Hair naturally loses moisture as days pass after cleansing.
Climate: A high-porosity, fine-haired natural in the dry climate of Arizona will struggle to retain moisture compared to a medium-porosity, coarse-haired natural in the mild humidity of Georgia.
Porosity: This determines how easily your hair absorbs and loses water.
Hydration is Personal
One of the biggest misconceptions I hear is that “hydrated hair feels soft.” For some people, that may be true. But for others, hydrated hair may feel springy, pliable, or even a little firm.
Hydration doesn’t look or feel the same on everyone. It’s about how your hair behaves. Is it responding well to your wash-and-go? Is it frizzing less and bouncing back when manipulated? That’s hydration showing up in action.
✨ Bottom line: When preparing for heat, understanding hydration is step one. Without it, no product, protectant, or technique will save your curls from frizz, breakage, or unnecessary damage.

Step 1: Recover After Braid Season
If you’ve been living in braids or other protective styles, your first step isn’t running to the flat iron—it’s rehab. Braids can leave hair dry, stressed, and in no condition for heat.
Give yourself 6–8 weeks of low manipulation natural styles like wash-and-gos, twist outs, or braid outs. This time allows you to bring your curls back to life with hydration and conditioning treatments. Think of it as strength training before the big game.
Why? Because hydrated curls equal less frizz and more longevity when you do style with heat.
Step 2: Pay Attention to Hair Behavior
Before you grab any hot tools, take a look at how your curls are behaving. Are your wash-and-gos lasting? Do your twist outs have definition? Is your hair springing back after you stretch it?
If your hair isn’t responding well to your go-to styles, that’s a sign you need to spend more time hydrating, clarifying, and trimming before exposing it to heat.
Step 3: Clarify for a Clean Slate
One of the most overlooked steps in preparing for heat styling is clarifying. Product buildup, oils, and minerals can all sit on the hair shaft, making it harder for your stylist—or even you at home—to achieve a smooth, polished finish.
Make clarifying a regular part of your routine—every 2–3 weeks—and definitely schedule it before your heat session. This step ensures your hair is clean, soft, and ready to take heat more effectively.
Step 4: Trim Regularly
Healthy ends are non-negotiable. Split or frayed ends will frizz, tangle, and take away from the polished finish you’re aiming for.
Plan to trim your hair every 12 weeks or so. Not only does this keep your ends looking fresh, but it also ensures your hair lays smoother, looks shinier, and makes your heat style last longer.
Step 5: Choose the Right Stylist
Your stylist makes all the difference. Look for someone who understands tight curls and natural hair, knows how to balance heat styling with curl preservation, and uses quality tools and heat protectants.
Do your homework—read reviews, check portfolios, and don’t be afraid to ask questions. A good stylist won’t just give you a sleek style; they’ll help protect the health of your curls in the process.
Step 6: Be Realistic About Heat Damage
Let’s keep it real: there is always some risk with heat styling. Even with the best care, there’s no absolute way to guarantee zero heat damage.
But the goal isn’t perfection—the goal is minimization. If your hair is hydrated, trimmed, clarified, and styled by a knowledgeable professional, you’re giving yourself the best chance at enjoying a heat style without long-term setbacks.
Step 7: Plan for Aftercare
Heat styling season doesn’t last forever. Before you head into it, decide how you’ll return to your natural styling routine afterward. Will you need deep conditioning treatments? A cut to refresh your curls? Or will you simply rotate back into wash-and-gos and twist outs?
Having a plan in place will make the transition smoother and protect your curls in the long run.
Final Thoughts
Heat styling doesn’t have to be scary. With the right preparation, hydration, and professional care, you can enjoy the versatility of straight hair while keeping your curls healthy.
So whether you’re styling once or twice a year, or planning to go straight for the season, remember: the condition of your hair going in will determine how great your results look—and how your curls look when you return to them.
If you want to get a head start, check out the Girl, Your Hair is Magic Mini-Guide. It’s designed to help you prepare and hydrate your hair so you can step into heat season with curls that are healthy, resilient, and ready. Grab your copy here.